How I Got Rid of Bumps and Texture With This DIY Hack
Dealing with skin bumps can feel discouraging, while smooth, radiant skin seems just out of reach. I know that struggle all too well. But what if I told you there’s a simple DIY hack that can transform your complexion? With just a few natural ingredients, you can tackle uneven texture and revive your skin. Want to discover how I made it work? Stick around, and I’ll share my journey and the steps you need to take.
Understanding Skin Bumps and Texture Issues
When it comes to skin bumps and texture issues, it can feel like you’re navigating a maze without a map.
You might’ve noticed those pesky bumps before, right? A simple skin texture remedy can work wonders.
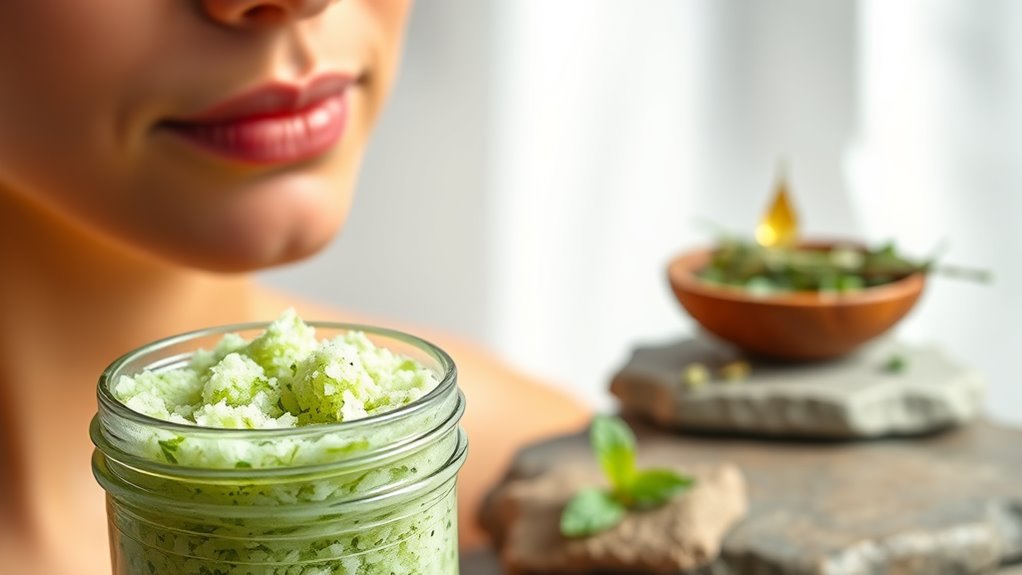
Exfoliation’s your best friend—try a gentle scrub or chemical exfoliant. The optimal frequency of exfoliation can significantly impact the results, so tailor it to your unique skin type.
Consistency is key, and don’t forget to moisturize afterward to keep your skin balanced and happy!
The Benefits of a DIY Approach
Going the DIY route for your skin care can be a game-changer! You gain control over ingredients, tailor treatments to your needs, and save a ton of cash. Plus, it’s super satisfying to whip up something that works. Here’s a quick look at the perks:
| Benefit | Description | Personal Tip |
|---|---|---|
| Customization | Tailor to your skin type | Test small areas first |
| Cost-Effective | Save money on products | Buy ingredients in bulk |
| Freshness | Use fresh, natural ingredients | Prep in small batches |
However, it’s important to be mindful of DIY skincare mistakes that could potentially lead to skin damage.
Ingredients You’ll Need for the Hack
Now that you’re excited about the benefits of DIY skin care, let’s get into the fun part: the ingredients you’ll need for this skin hack.
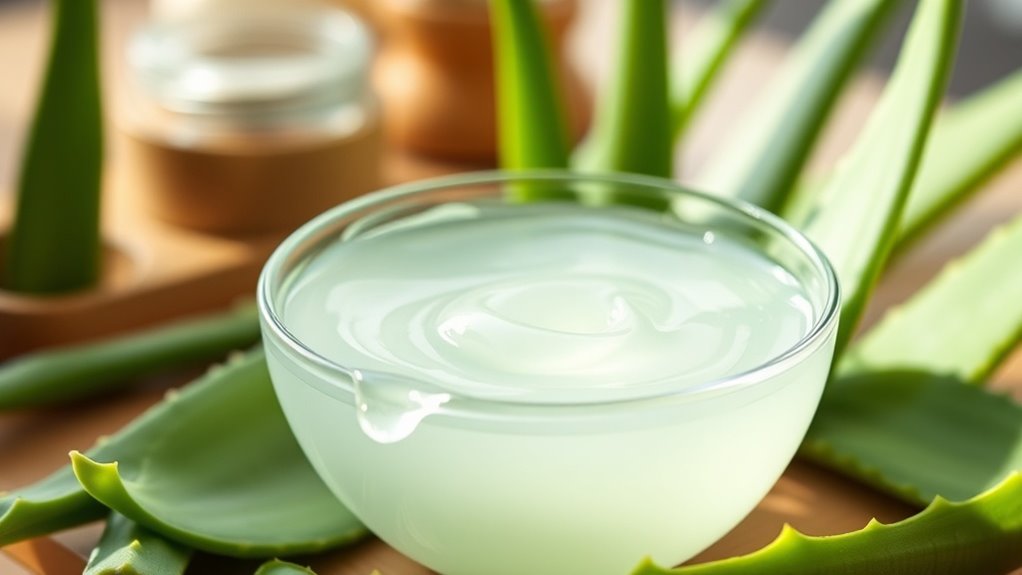
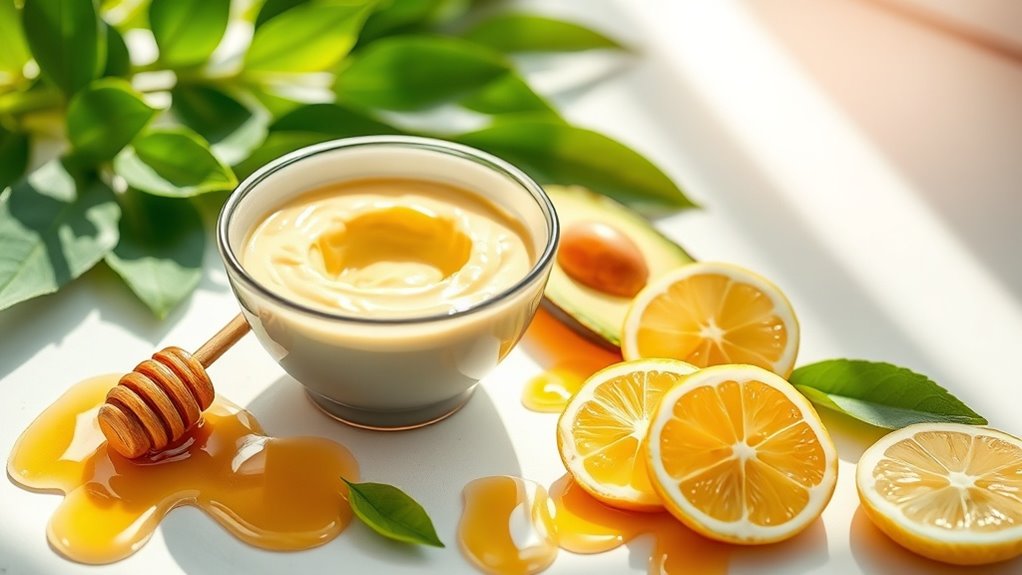
You’ll want some coconut oil, honey, and a bit of sugar for gentle exfoliation.
I love using natural ingredients because they’re easy to find and gentle on the skin. Incorporating effective DIY skincare recipes can make a significant difference in your routine.
Trust me, you’ll love the results!
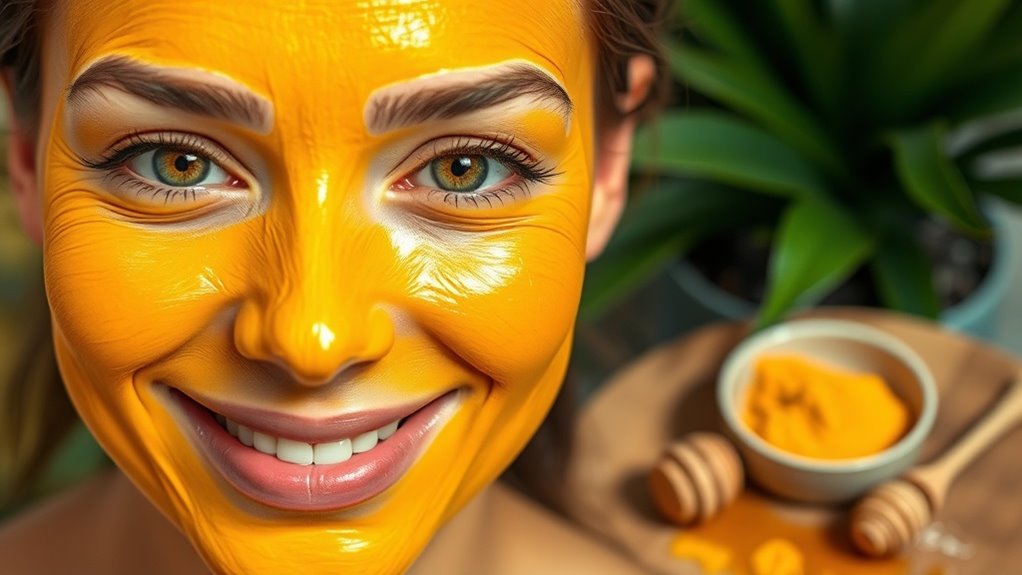
Step-by-Step Instructions
Ready to dive into your DIY skin hack? First, mix your ingredients in a bowl. Apply it to clean skin, focusing on areas with bumps. Let it sit for 10-15 minutes, then rinse with lukewarm water. Follow up with a moisturizer for best results. This simple DIY face mask can help you achieve glowing skin and make your skin feel baby-soft.
| Step | Action |
|---|---|
| 1 | Mix ingredients |
| 2 | Apply to clean skin |
| 3 | Rinse and moisturize |
Tips for Maintaining Smooth Skin
Once you’ve pampered your skin with that DIY treatment, maintaining smooth skin becomes your next priority.
Keep your skin hydrated by drinking plenty of water and using a good moisturizer daily. Exfoliate gently once a week, and don’t forget sunscreen to protect against damage. Additionally, consider incorporating a simple one-ingredient hack to maintain optimal skin hydration throughout the harsh winter months. Trust me, sticking to these basics will keep your skin glowing and feeling smooth, day after day!
Personal Results and Experiences
When I first tried a DIY skin treatment, I was a mix of excitement and skepticism. I noticed improvements over time, but consistency was key. Check out how my journey compared to expectations:
| Week | Improvement Level | Notes |
|---|---|---|
| 1 | Slight | Skin felt smoother |
| 2 | Moderate | Fewer bumps noticeable |
| 3 | Significant | Texture almost gone |
| 4 | Clearer | Glowing skin achieved! |
Trust the process!