This DIY Face Mask Gave Me Instant Glow!
You can achieve an instant glow with this DIY face mask, featuring honey for its antibacterial benefits, yogurt for gentle exfoliation, turmeric to reduce inflammation, and lemon juice for brightening effects. Mix these fresh ingredients thoroughly in a clean bowl, apply a thin layer to your cleansed skin, and leave it on for 15-20 minutes while watching for irritation. You’ll notice enhanced radiance and hydration right away. Explore the steps and tips that follow for even better results.
Essential Ingredients for the Mask
Creating a DIY face mask requires selecting ingredients that are both effective and safe for your skin.
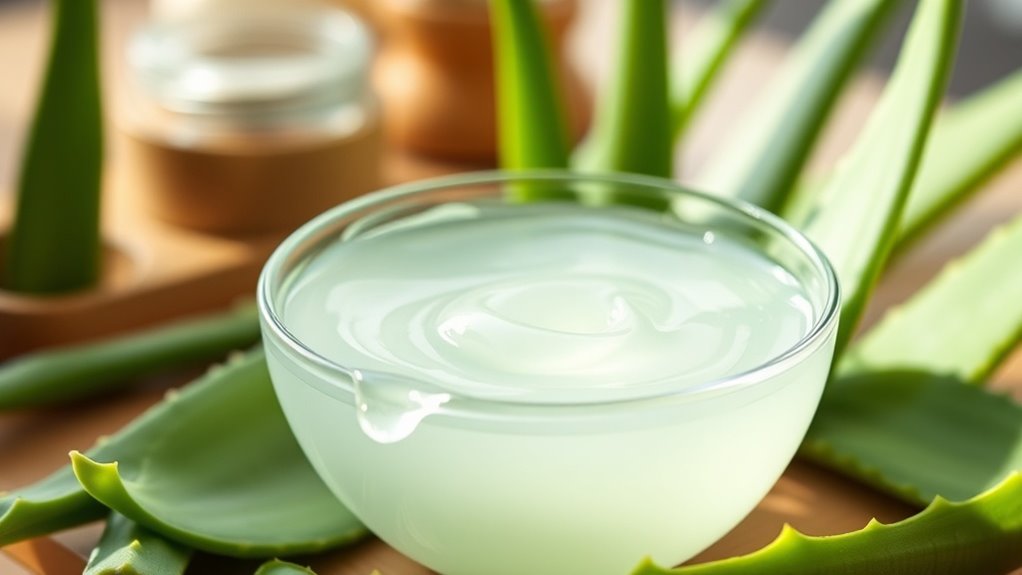
For your homemade mask, you choose natural components like honey for its antibacterial properties and yogurt for mild exfoliation, ensuring they align with scientific evidence. Additionally, incorporating easy homemade face masks can enhance your skincare routine by providing tailored solutions for different skin types.
Always verify ingredient purity and conduct patch tests to minimize risks of irritation, as individual sensitivities vary, promoting a cautious approach to achieving a radiant glow.
Step-by-Step Recipe Preparation
To prepare your DIY face mask effectively, you must first gather the specified ingredients with care to verify they’re fresh and measured accurately.
Once collected, mix them thoroughly to achieve a uniform consistency that promotes even application.
Finally, apply the mask gently to your skin, observing any reactions to maintain safety and efficacy. Using a mask with natural ingredients can enhance the overall benefits for your skin.
Gather Ingredients
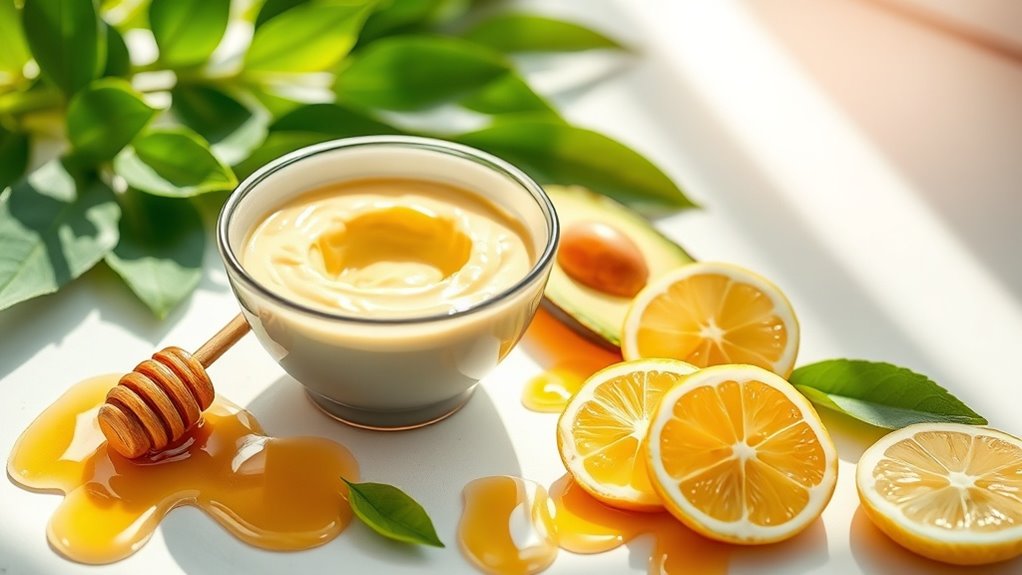
Before you prepare your DIY face mask, gather these essential ingredients carefully to guarantee safety and efficacy. You’ll need items like honey for moisturizing, turmeric for its anti-inflammatory properties, yogurt for gentle exfoliation, and lemon juice for brightening. Here’s the breakdown:
| Ingredient | Description |
|---|---|
| Honey | Natural moisturizer |
| Turmeric | Anti-inflammatory agent |
| Yogurt | Gentle exfoliant |
| Lemon juice | Natural brightener |
Always check for allergies and use fresh, high-quality sources.
Mix Thoroughly
Mix the ingredients carefully to blend their properties effectively.
You’ll combine them in a clean bowl using a spatula to guarantee even distribution, preventing separation of key components.
This method minimizes oxidation, preserving nutrient stability and efficacy.
Gently stir until the mixture achieves a smooth, homogeneous texture, avoiding any lumps that could compromise results.
Monitor consistency closely for safety.
Apply Mask
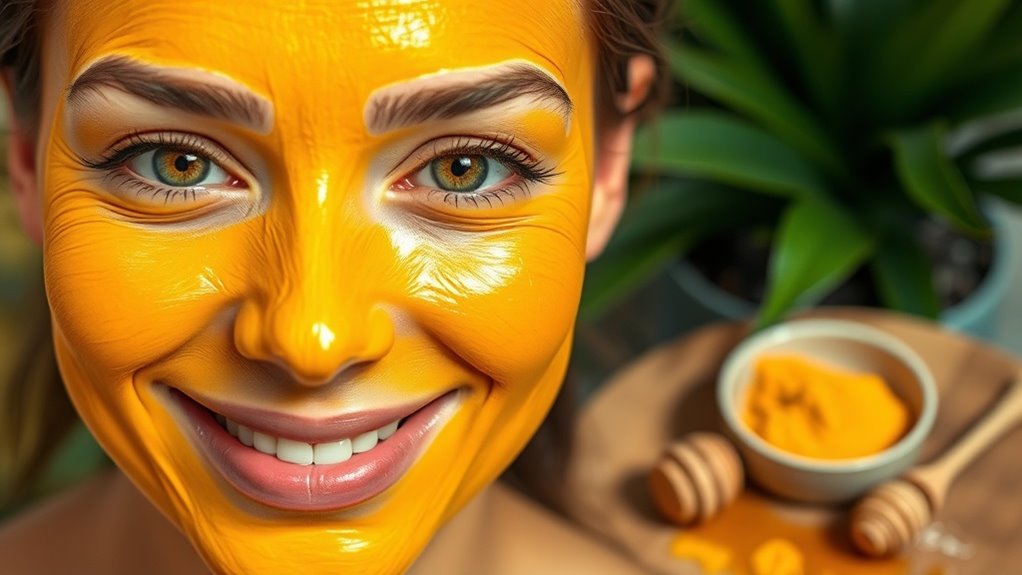
Now, gently apply the mask to your clean, dry face using clean fingertips or a brush.
Achieve a thin, even layer across your face and neck, avoiding sensitive areas like the eyes and lips.
Let it set for 15-20 minutes, monitoring for irritation such as redness or itching.
Rinse thoroughly with lukewarm water, then gently pat your skin dry with a soft towel.
Simple Application Techniques
You select the appropriate tools to guarantee safe application of your DIY face mask.
Follow the basic steps carefully to apply it evenly and effectively.
It’s crucial to approach these techniques with precision to minimize any risk of skin irritation. Additionally, avoiding common mistakes can significantly enhance the effectiveness of your DIY face mask.
Basic Steps
Several basic steps facilitate the safe application of this DIY face mask.
As you proceed, it’s crucial to maintain a cautious approach, ensuring minimal risk of irritation while maximizing benefits.
- Thoroughly cleanse your skin first, using a gentle method to remove debris and promote adhesion.
- Apply the mask evenly across your face, employing steady, controlled motions for uniform coverage.
- Monitor the duration carefully, allowing adequate time for the ingredients to interact without overexposure.
Tool Selection
Selecting the appropriate tools simplifies and secures your application of the DIY face mask, minimizing risks while optimizing results.
For simple application techniques, you’ll choose a soft brush or spatula for even spreading, ensuring uniform coverage without tugging skin.
Always sterilize tools with alcohol to prevent contamination, and use a non-reactive bowl for mixing to maintain ingredient integrity and avoid allergic reactions.
Visible Results and Benefits
The DIY face mask can deliver visible enhancements, such as an immediate glow, that benefit skin health.
You’ll observe potential improvements in skin radiance and resilience through its formulation.
- It may boost hydration, helping maintain your skin’s barrier for a plumper look.
- The mask could reduce dullness, promoting a more even tone.
- You’ll potentially see minimized inflammation, supporting overall skin health.
- Additionally, using natural ingredients in homemade face masks can enhance skin type customization, allowing you to tailor the mask to your unique needs.
Personal Glow Transformation Story
Have you ever wondered how a simple DIY face mask might spark your own glow transformation?
In your routine, applying this mask could potentially improve skin radiance by supporting hydration and cellular turnover, though individual responses vary. You may notice subtle enhancements over time, based on cautious observations from user experiences. Always prioritize safety, as not all skins react identically. Additionally, I found that some masks specifically targeted hydration and cellular turnover, enhancing their overall effectiveness.
Additional Tips for Enhanced Effects
While you incorporate these additional tips, you’ll maximize the glow from your DIY face mask by focusing on key factors like application timing and complementary habits.
Research indicates these can enhance efficacy without risk.
- Opt for evening application to align with the skin’s repair cycle, promoting better absorption.
- Pair with a vitamin-rich diet to bolster antioxidant effects and maintain hydration levels.
- Monitor skin responses closely to identify and mitigate any potential irritations promptly.